Docker for Dummies (Part 2)
Creating your first ever image

Hey all,
A similar version of this post can be found at dev.to if you want to take a look at it.
In the previous post we took a look at a simple explanation of what Docker is and why one should use it. In this post we will take a look at how to create and delete docker images. You should have Docker installed in your system to follow this blog
As always this series is meant to be easy to understand and as such some topics will not be explained or will be covered at a later part when you are ready to work with them.
Inspecting our System for Docker Images
We can view the images that we have in our system by the docker images command. You can see a sample of this output below
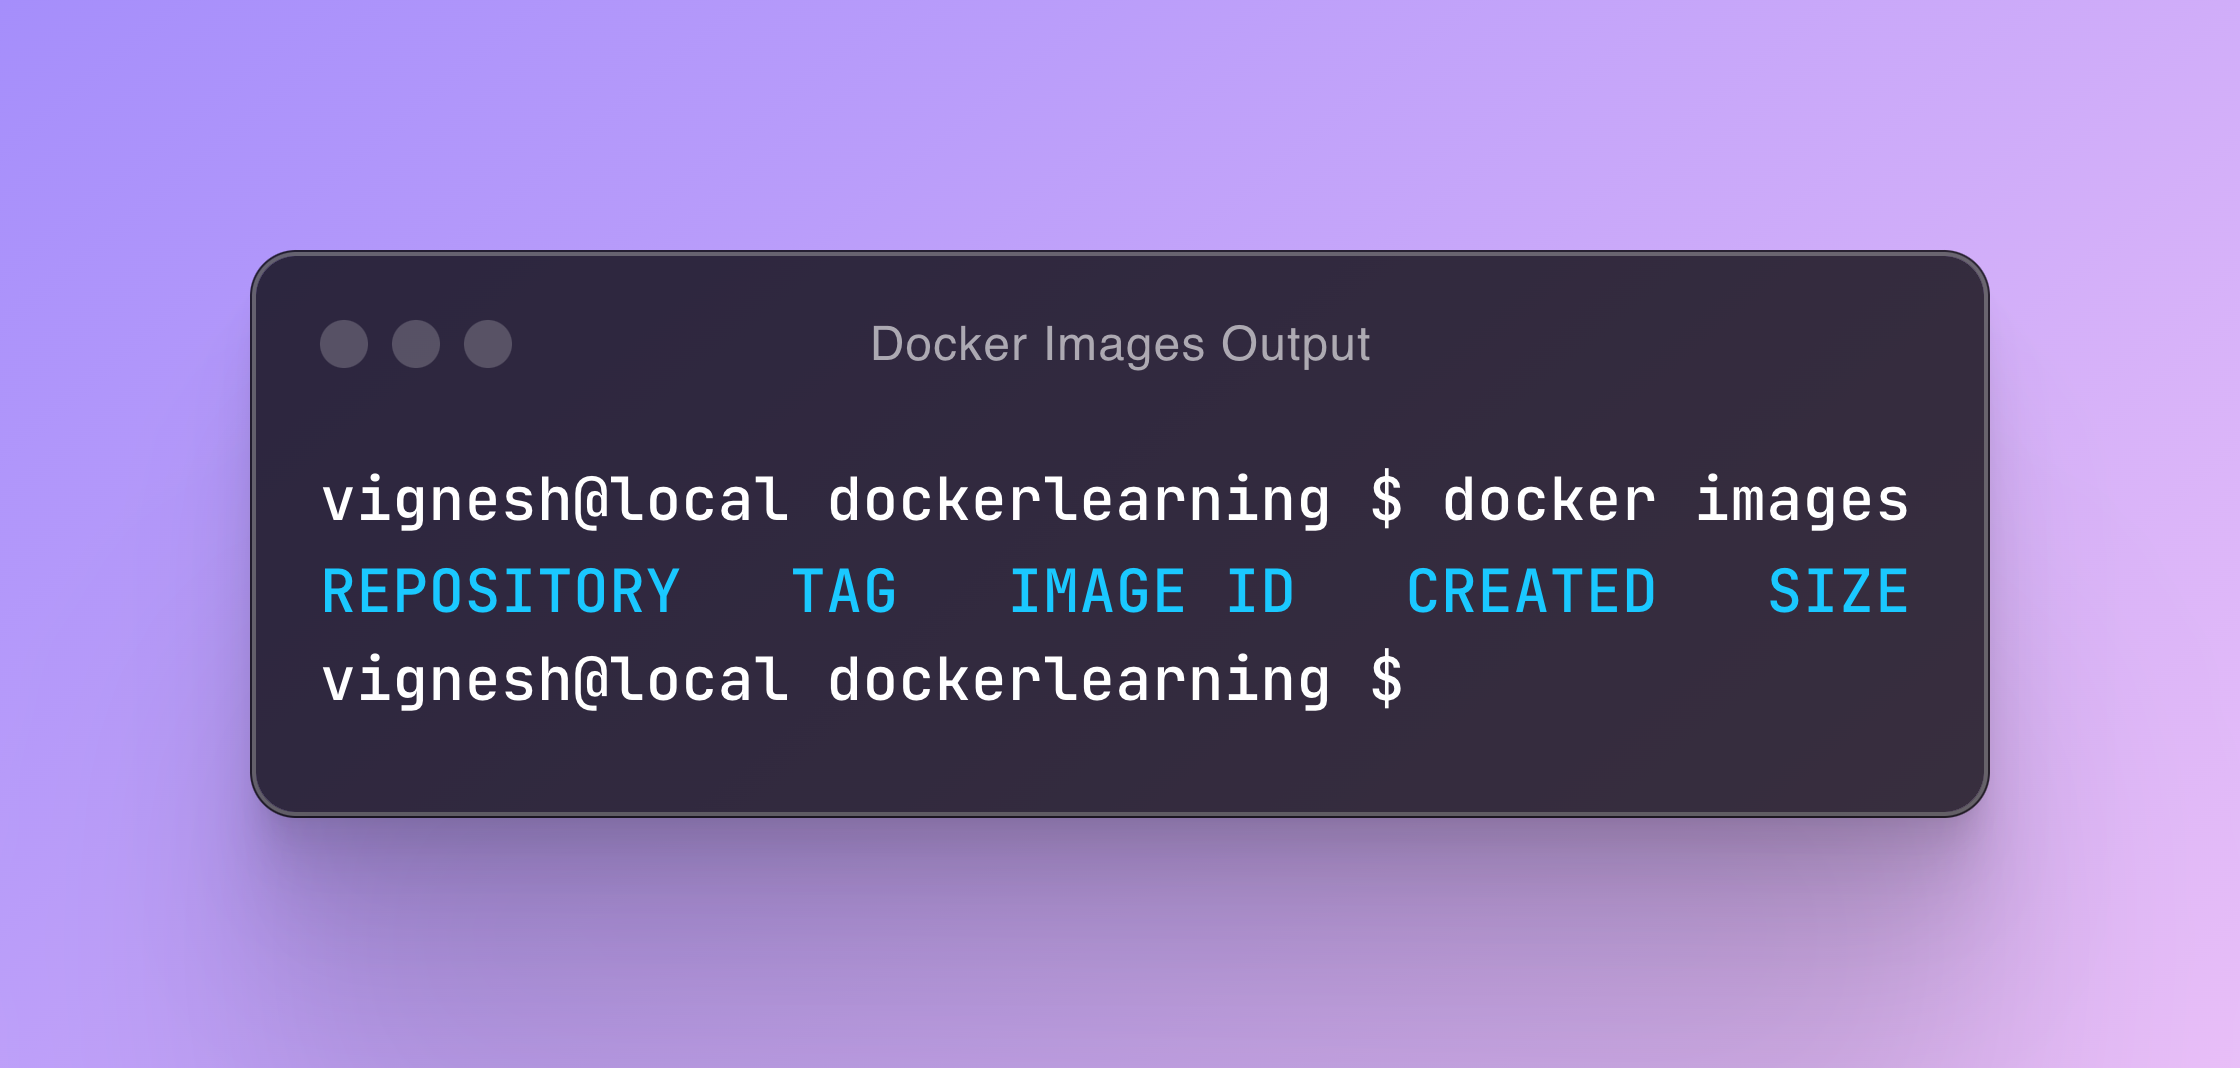
Right now there is no image so it just shows just the headings.
Writing a docker file to create the most simplest image ever
To create an image create an empty folder inside which where you will write your docker file. I named my folder as dockerlearning.
Create a file with any name that you want for the Docker File, however most engineers use the name Dockerfile.
We will learn how to build images by building the simplest image possible
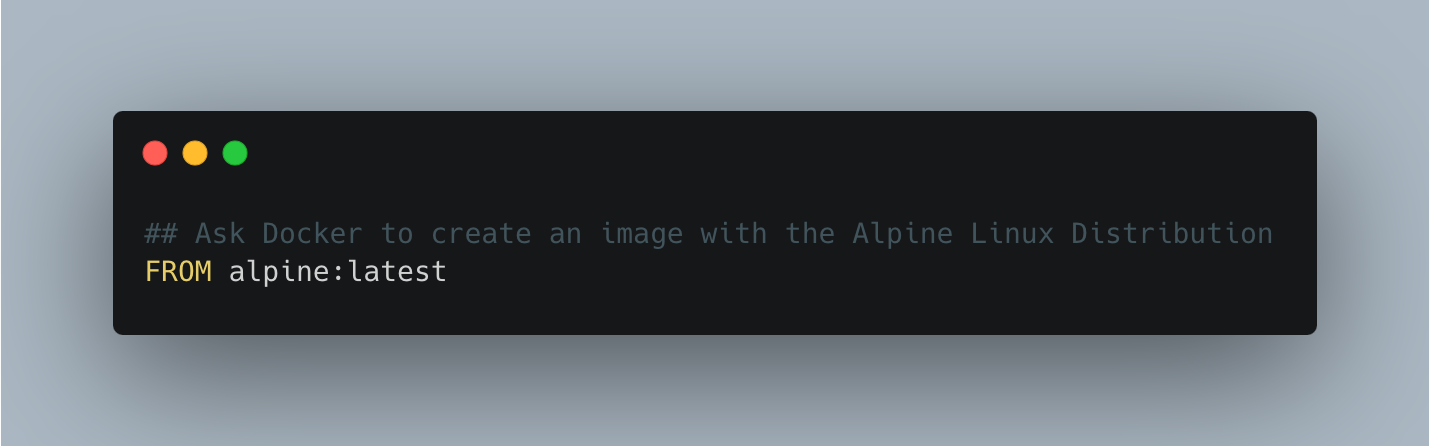
We have a docker file which asks Docker to pull the alpine linux image. In other words our first image is just a bare bones version of alpine linux.
All images follow the following name convention
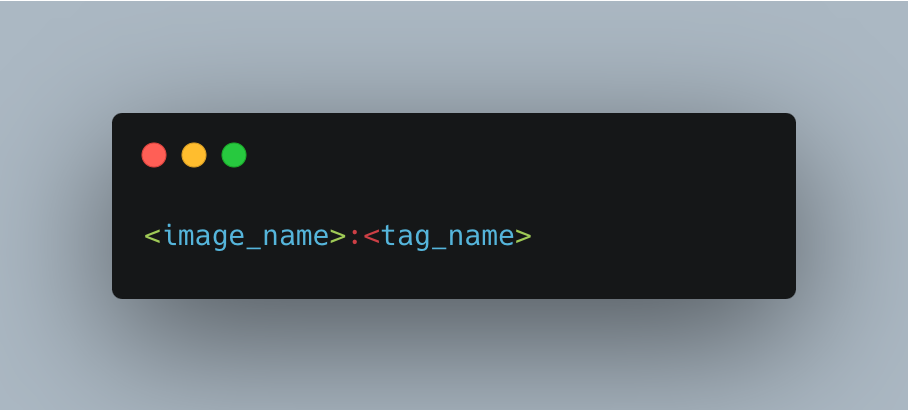
Where image_name is the name of the image while tag_name represents the version of the image. The version of the image can be anything that resembles a version like 1.3, 2.5, latest, rolling etc
If you do not specify the tag name, docker will assume the tag name is latest
Building your docker image
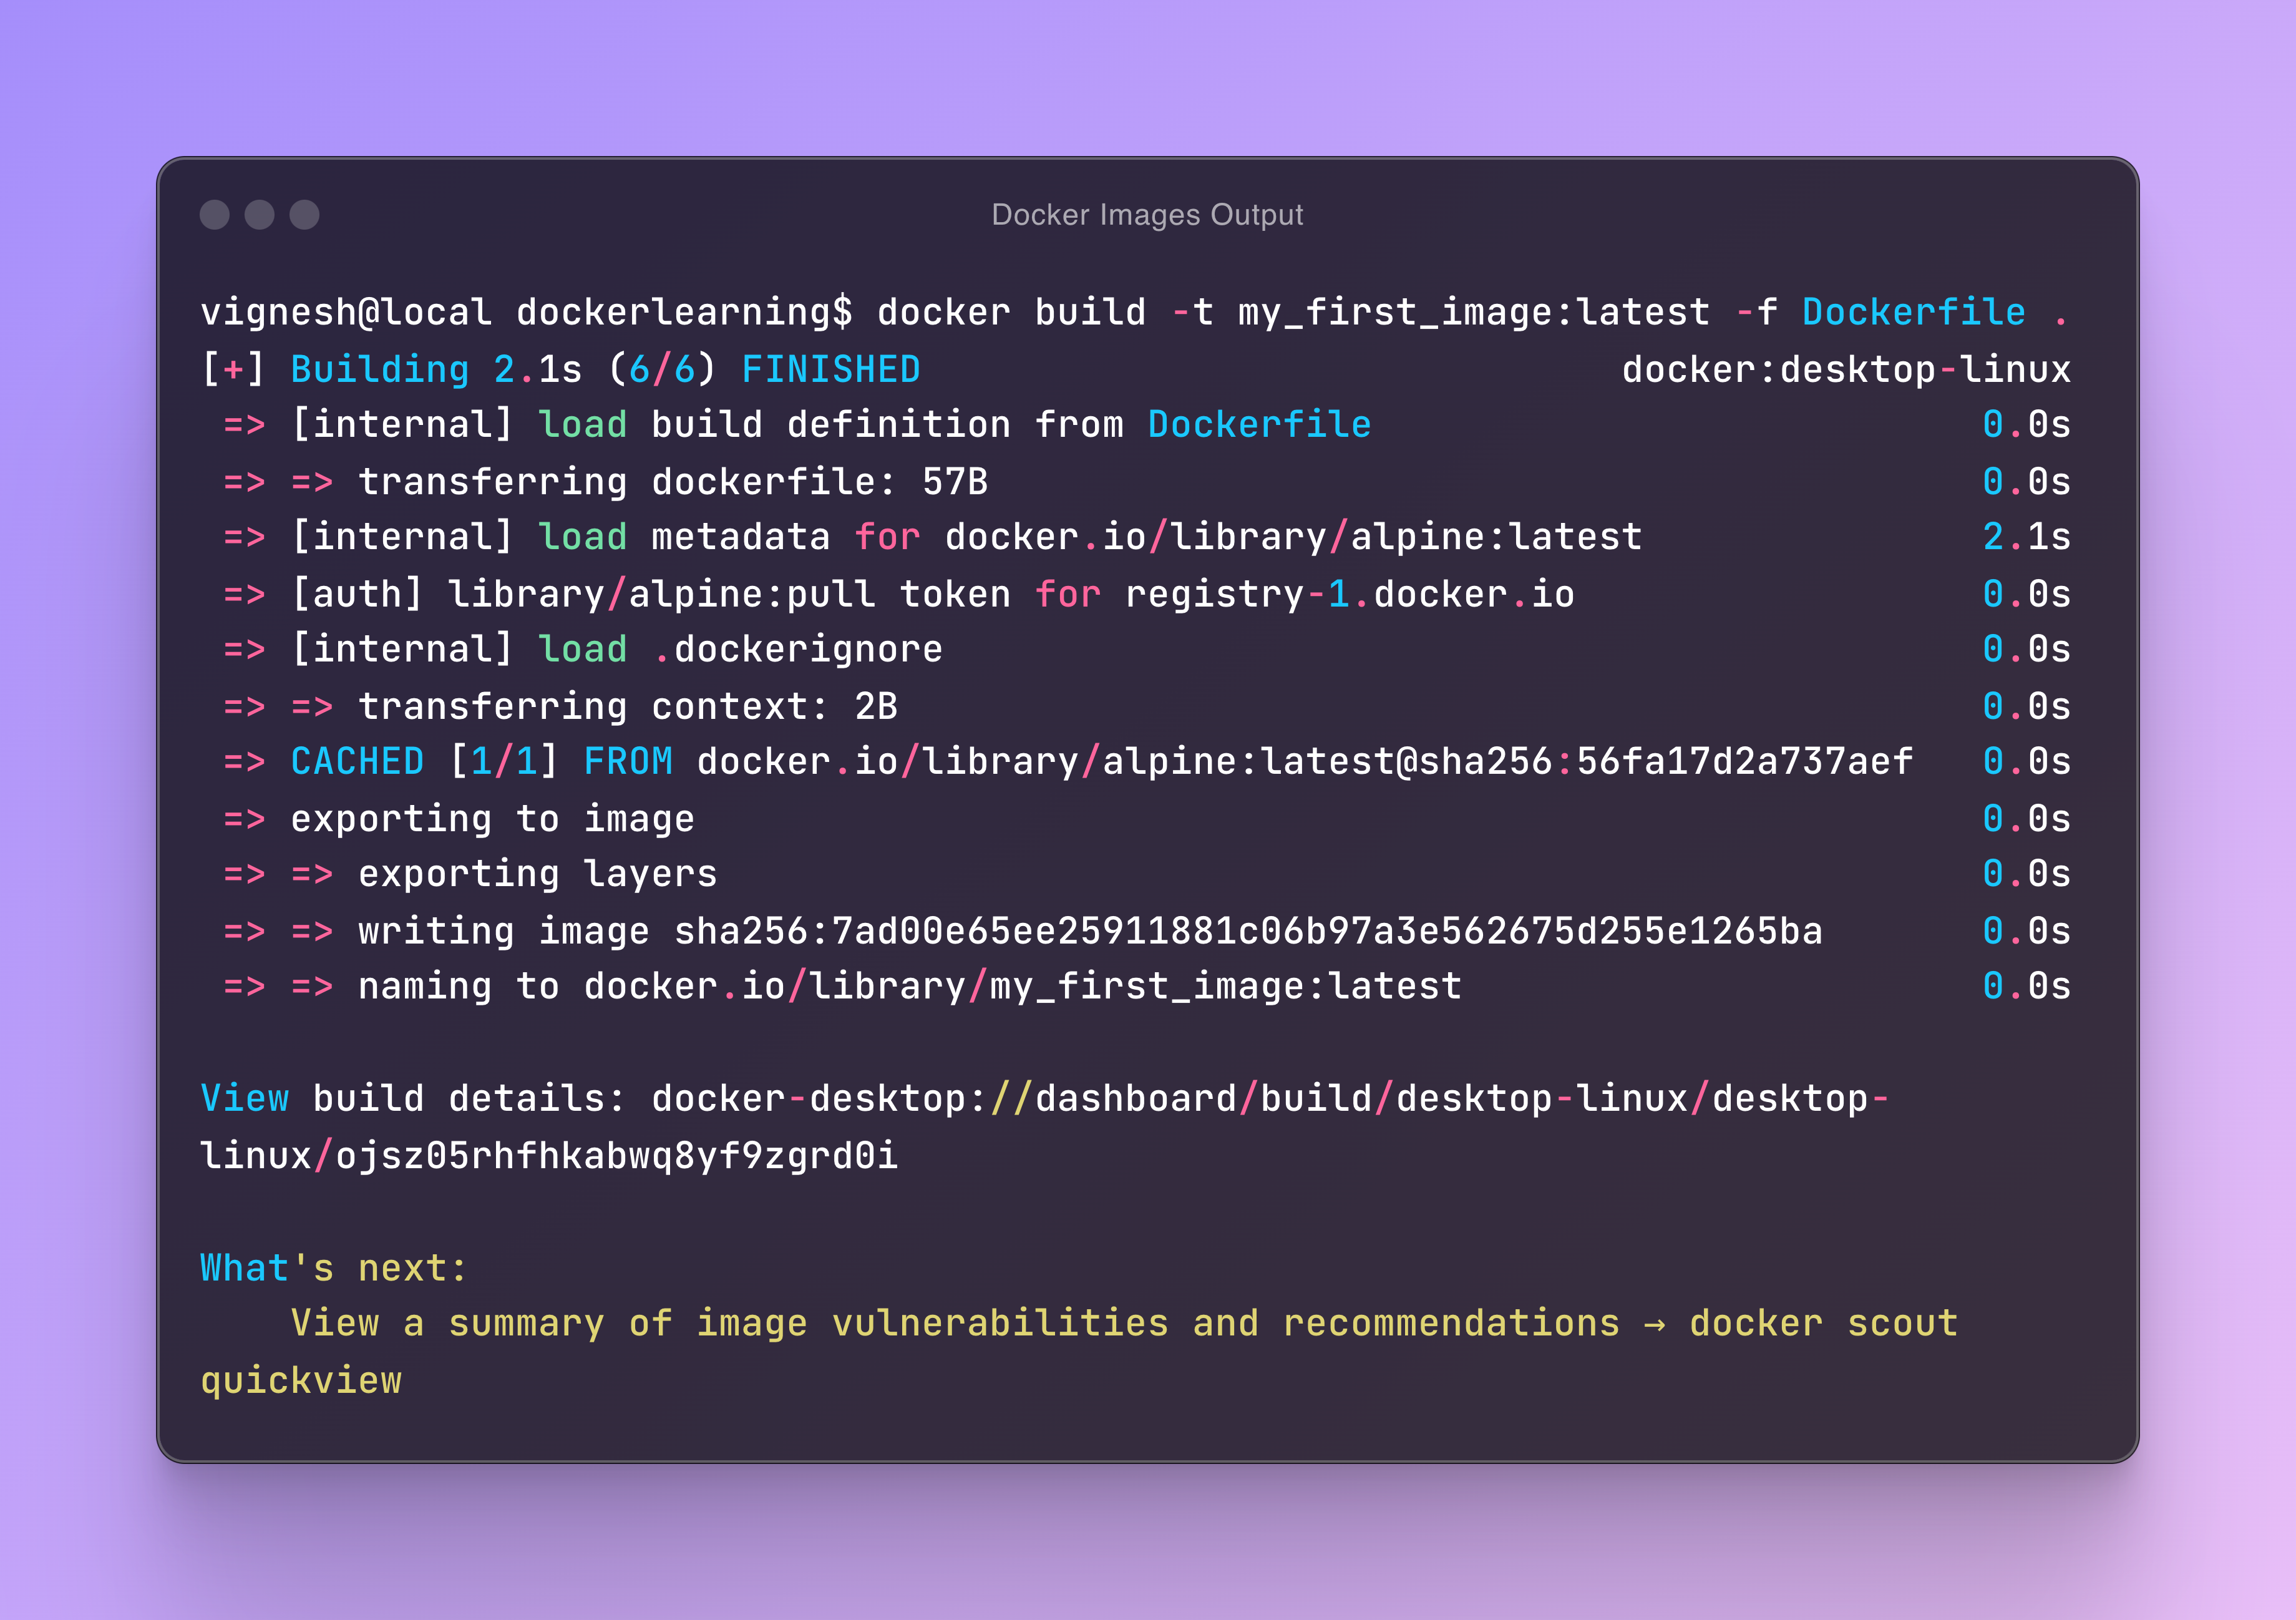
Once you have written the docker file, you can build an image out of it with the following command
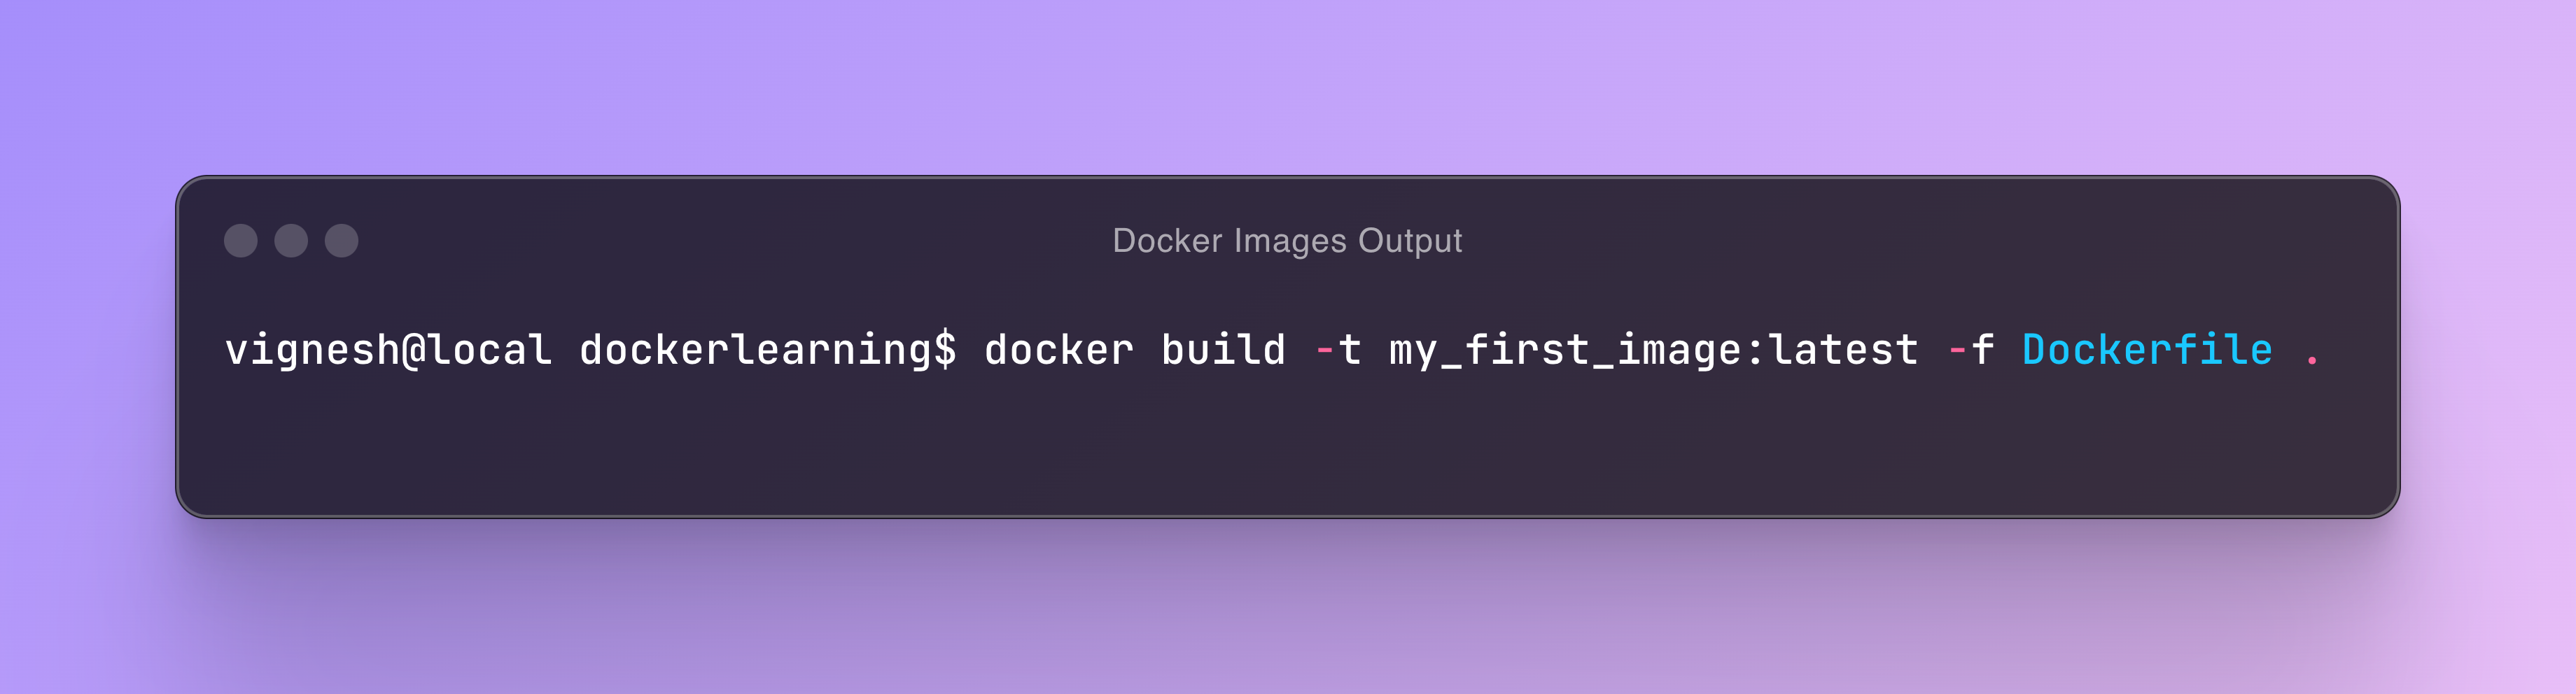
The above command builds an image called my_first_image:latest from the docker file Dockerfile. You can actually ignore the -f Dockerfile portion of your command if you name your docker file as Dockerfile
Once you do this, docker starts building an image from your Docker file and the process of building gives an output in your terminal which looks something similar to the below image
Once the build is done, you can check your system if you have any images again with the docker images command.
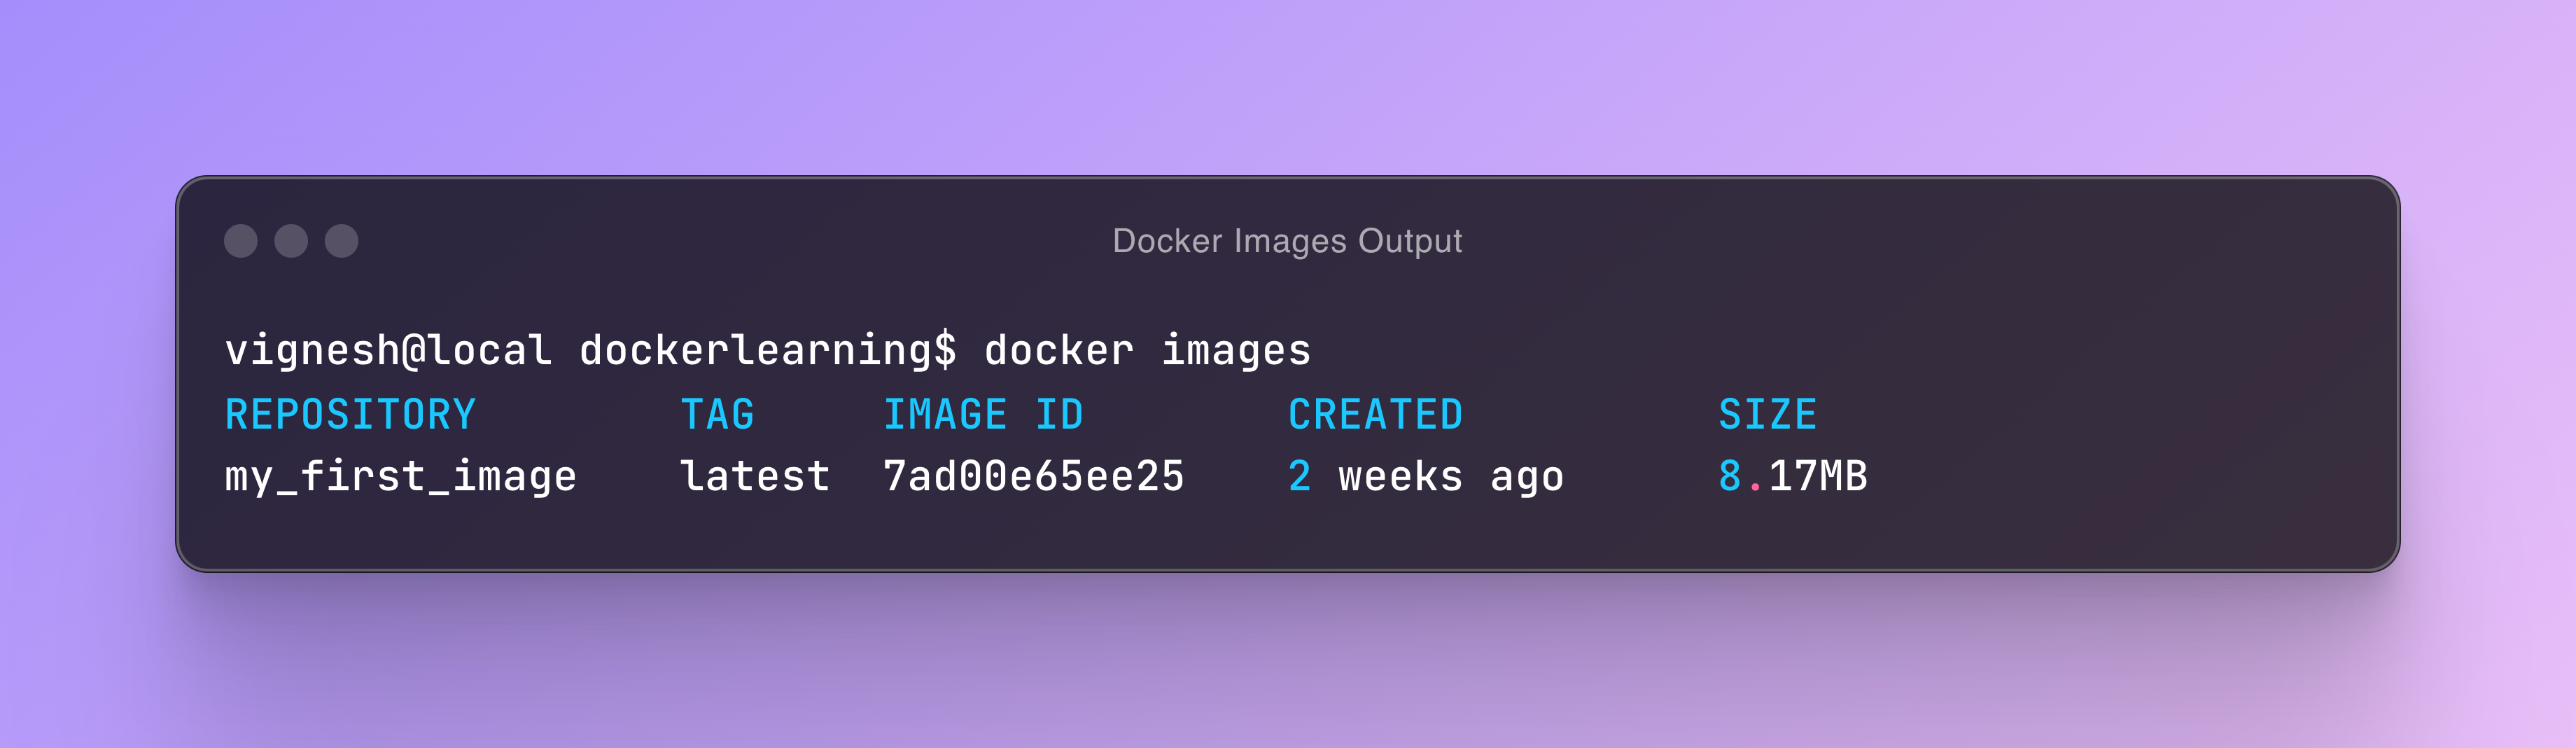
Now we see that docker is listing that we have an image with the tag that we gave it alone with an IMAGE ID and the size for it.
Deleting your Docker Image
If you ever want to delete a docker image that you created you can do so by running the following command
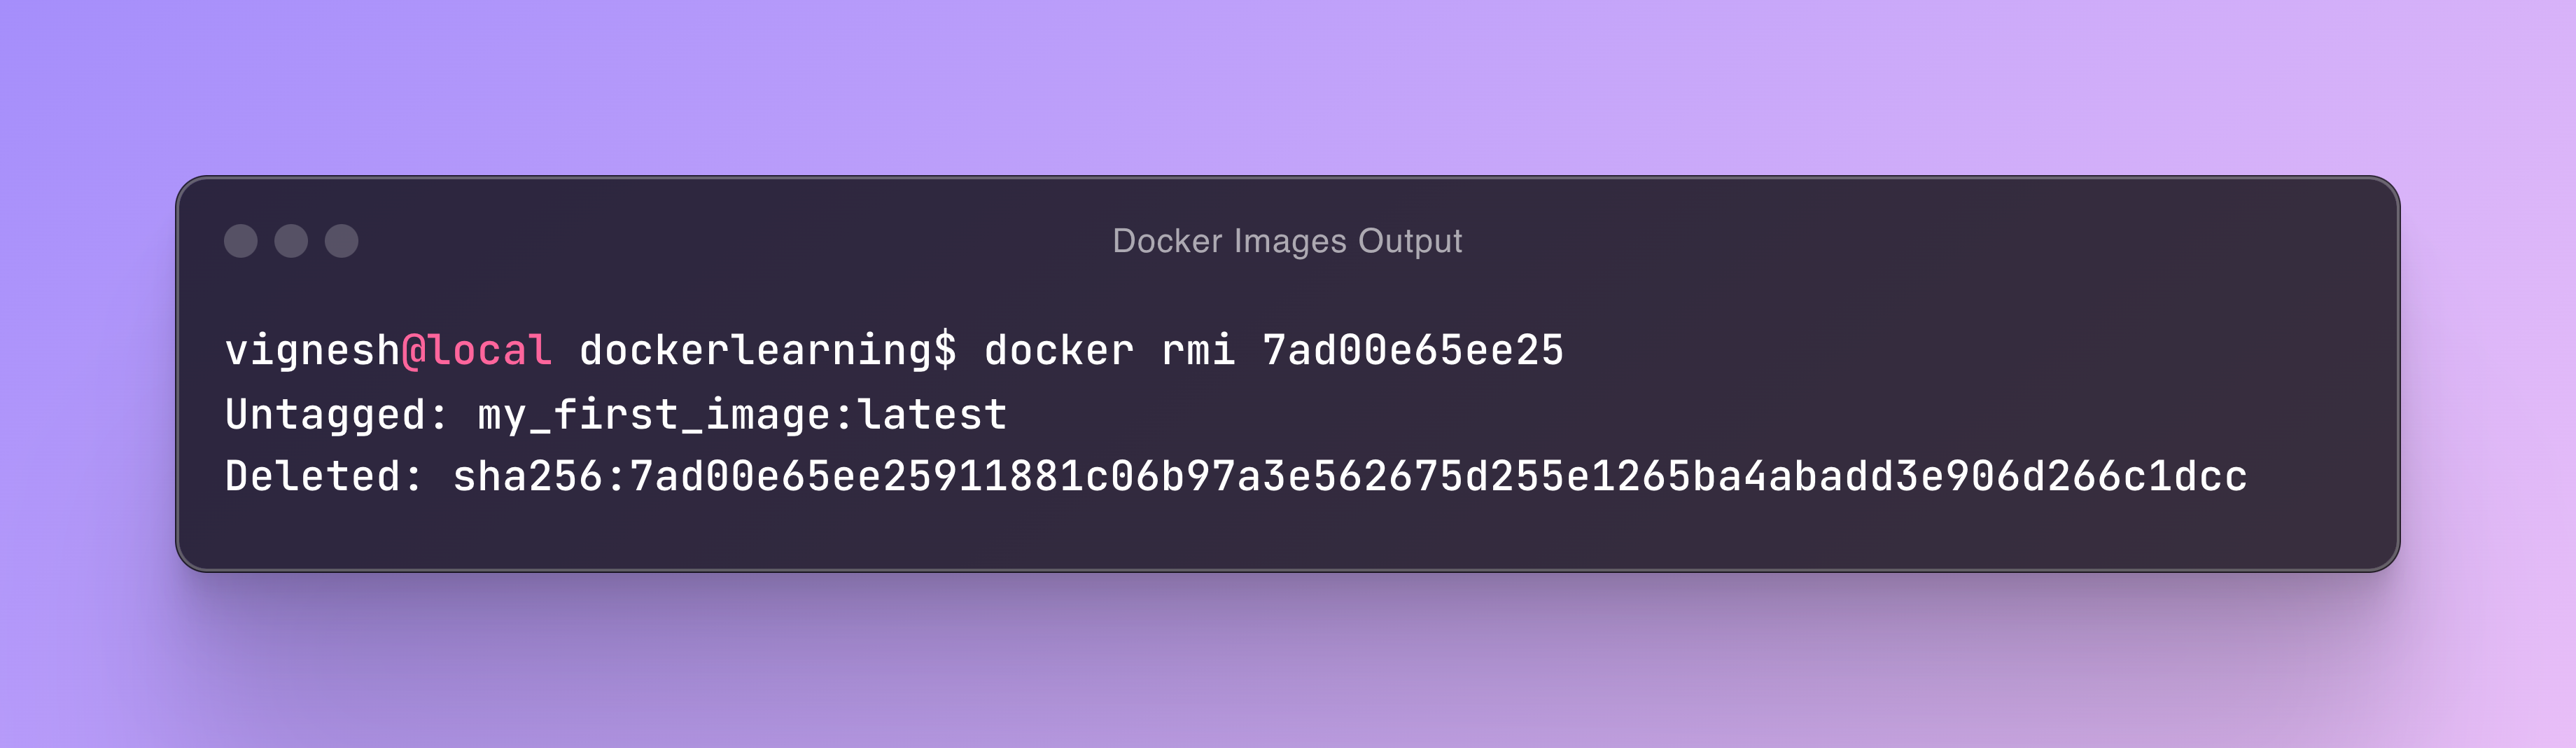
Running the docker rmi command with the image ID will delete the image
Now if you run the docker images command you will see nothing listed again.
Summary
In this blog post, we saw the following
How to list the docker images in our computer with the docker images command
How to write a very simple docker file
How to build a docker image with the docker build command
How to delete a docker image with the docker rmi command
Some Homework for you
Here are some questions for you to ensure that you get more practice and that you understand the process that is going on
Is alpine linux the only image that can be pulled?
Are operating systems the only images that can be pulled?
Wasn't the whole point of containers to run your software without interference from other software? How does pulling an OS image solve this? Or are we missing something yet?
What happens when we create another image with the same name?
Where are the created images stored?
Next Steps
In the next blog post, we will take a look at creating docker images that are much more detailed that the one line docker file that we used right now and we will dive into some additional commands that we can write in the Docker file
Join Vignesh on Peerlist!
Join amazing folks like Vignesh and thousands of other builders on Peerlist.
0
8
1